The Carpentries Workbench
Last updated on 2025-05-02 | Edit this page
Estimated time: 70 minutes
Overview
Questions
- How is a lesson site set up and published with GitHub?
- What are the essential configuration steps for a new lesson?
Objectives
After completing this episode, participants should be able to…
- Identify the key tools used in The Carpentries lesson infrastructure.
- Complete the fundamental setup steps for a new lesson repository.
- Edit Markdown files using the GitHub web interface.
At this stage in the training, you will have gone through the first three stages of the lesson design. You should have a clear idea of who the people are that you want to teach this lesson to, and what exactly the skills are that you want them to learn while they are following it. You also have an outline of your lesson and its episodes. It is now time to begin creating a website that will present that lesson to the world!
GitHub Pages
The source of all The Carpentries lessons is made publicly-available in repositories on GitHub. By making our repositories public like this, we encourage others to help us maintain and improve our lessons, and make it as easy as possible for them to re-use and modify our lessons for their own purposes.
GitHub provides a hosting service to open source projects such as these, allowing users to present their projects to the wider world. The repository includes a complete history of the changes made between versions of the individual files in the project, and provides many features that facilitate collaboration on projects. We will learn more about some of those collaborative features later in this training. For now, we will focus on one other important feature that GitHub provides: website hosting.
Via a system called GitHub Pages, users can build and host websites from the files present in any repository on GitHub. For many years, this has been how The Carpentries presents its lesson websites to the world.
Using The Carpentries Workbench
Carpentries lesson websites are built with The Carpentries Workbench, a toolkit that converts Markdown and R Markdown files into the HTML that can be served by GitHub Pages. We will use it now to initialise a new lesson.
In the past, our lesson sites were generated by software called Jekyll, a tool built into GitHub Pages that allows the webpage content, written in the text files of the repository, to be combined with descriptions of settings, structure, and styling, to create a website. The template used by Jekyll to structure and style lessons was initially developed in 2013/2014 by Abby Cabunoc Mayes, Greg Wilson, Jon Pipitone, and Michael Hansen for Software Carpentry. It was expanded and maintained by many members of the community over almost a decade, to also support Data Carpentry, Library Carpentry, and many other lessons.
In 2022, we adopted a new infrastructure for our lesson sites: The Carpentries Workbench. Lesson sites built on the Workbench are still hosted with GitHub Pages, but no longer use Jekyll. Instead, the lessons are built using a programming language, R, and pandoc, a software designed for converting content between file formats. The Workbench combines three R packages:
- sandpaper: converts a collection of Markdown or R Markdown files into the structure of a lesson website.
- varnish: provides the files and folders that add styling and additional functionality to a lesson website.
- pegboard: a programmatic interface to the lesson, enabling various automated validation tasks.
For lesson developers, the Workbench makes The Carpentries lesson repositories much simpler to navigate and work with.
Developing lessons using the Carpentries Workbench in GitHub might seem intimidating, especially for those who are less experienced with collaborative GitHub workflows or unfamiliar with the Workbench. However, most of the complex infrastructure is hidden from lesson developers, and some setup tasks only need to be completed once or infrequently. The table below outlines common tasks that lesson developers perform in GitHub (which you will learn about shortly) along with how often they are needed.
| Task | Frequency |
|---|---|
| Create repository | Once |
| Add collaborators | Rarely |
| Edit global lesson configuration file | Rarely |
| Edit lesson front page | Rarely |
| Create a new episode | Often in the early stages of lesson design, rarely after that |
| Edit episode content | Often |
Creating a Lesson Repository
To get started, we first need to create a new repository for our lesson. We will use a template to do this, so that the new repository contains the basic files and folders that the Workbench needs in order to build a lesson site. There are currently two templates to choose between:
- A Markdown template
- An R Markdown template, best suited to lessons you expect to include R source code that will generate output.
One member of each participating lesson team should choose one of these templates, following the link above and completing the configuration as follows:
- click on the green “Use this template” button near the top right of the window
- add a name for the repository
- The name should be descriptive but fairly brief, with hyphens
(
-) to separate words - the name can always be changed later, via the repository settings
- The name should be descriptive but fairly brief, with hyphens
(
- make sure the “Include all branches” box is checked to copy all
branches from the template repository
- this is important as lessons are developed in branch
mainbut rendered into websites from branchgh-pages
- this is important as lessons are developed in branch
- in the “Description” field, write the title of your lesson
- choose “Public” visibility
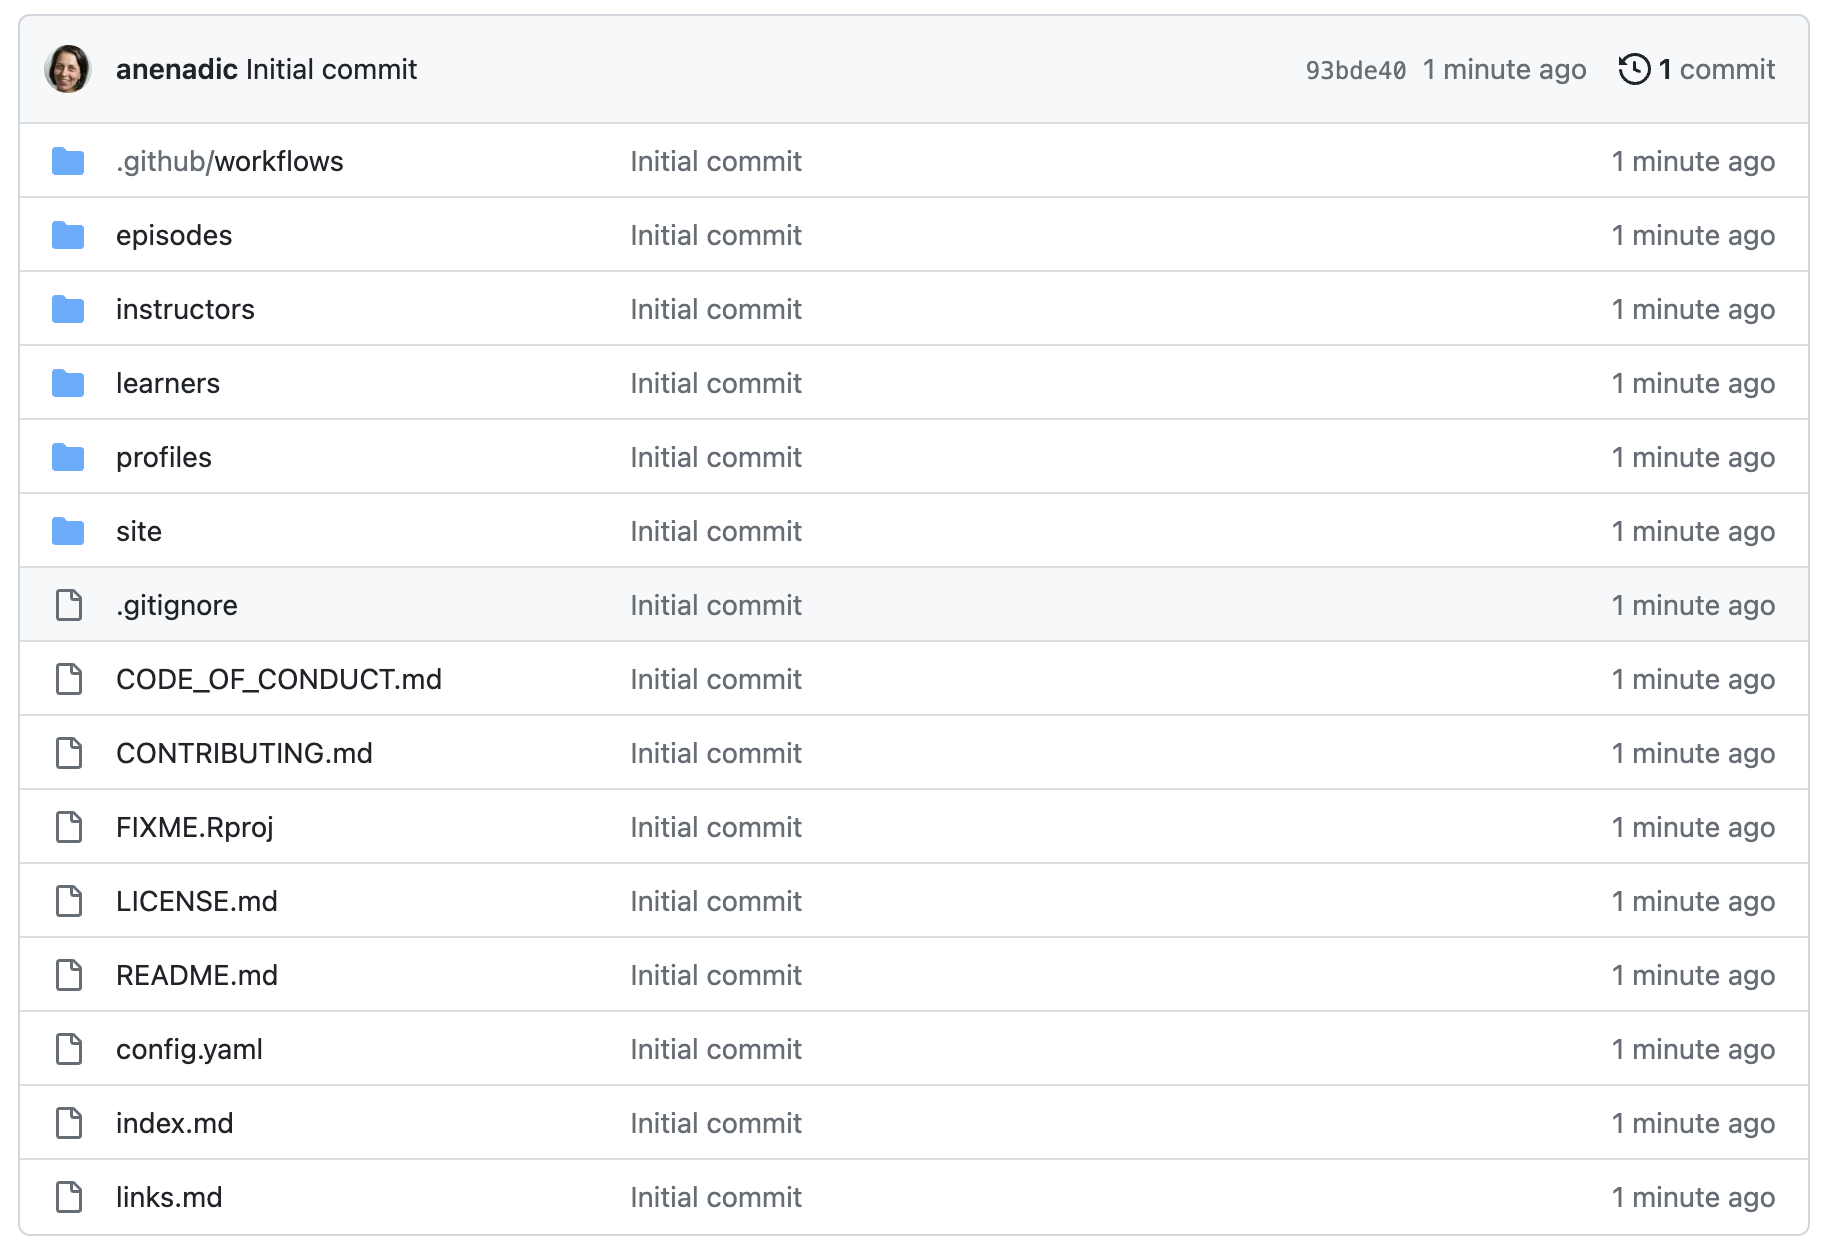
After pressing the Create repository button, you should be presented with a brand new lesson repository, like in the picture below.
renv/ directory.Remind learners to paste URL of their lesson repository and the rendered version of the lesson to the collaborative document.
Adding collaborators
To be able to add content to the lesson, your collaborators on this project will need access to the repository. To add collaborators to the repository, navigate to Settings, then choose Collaborators from the left sidebar. Now repeat the following steps for every collaborator working with us on the project.
- Click Add people and enter the GitHub username of one of our collaborators.
- Click Add USERNAME to this repository.
Your collaborator should receive an email inviting them to join the repository. After they have accepted this invitation, they should be able to edit the repository, adding new files and modifying existing ones. Only the person who created the repository will be able to adjust the repository settings.
Note, the above directions assume your repository is owned by a personal account not an organisation account. The options for permissions are different when adding collaborators for an organisational account. On a personal account, you only have two permission options “owner” or “collaborator”, where organisations have more roles with varied permissions.
See the GitHub access permissions webpage for more details.
Repository Files
The repository contains a number of files and folders. Most of these are source files for the content of our new lesson, but a few are accompanying files primarily intended for the repository itself rather than the lesson website. These are:
CITATION.cffCODE_OF_CONDUCT.mdCONTRIBUTING.mdLICENSE.mdREADME.md.gitignore- and the
.github/folder.
We will address all of the files later in the training. For now, we will move on to complete the basic setup of the lesson.
Configuring a Lesson Repository
Since your lesson was created from a lesson template which contains
gh-pages branch, GitHub Pages should already be generating
a rendered version of your lesson from this branch. If it isn’t, the
instructor should work with groups to activate GitHub Pages.
We need to tell GitHub to begin serving the lesson website via GitHub
Pages. To do this, navigate to Settings, then choose
Pages from the left sidebar. Under Source, choose the
gh-pages branch, leave the folder set to
/ (root), and click Save. You may copy the URL in
this box, this will be the address of your lesson site.
Although we configure GitHub Pages to serve the lesson website from
the gh-pages branch, the default working branch for
a lesson will be main. For the rest of this
training, you should add and edit files on main, and in
future, when you open Pull Requests to update the lesson content, these
should also be made to main. The gh-pages
branch should never be modified by anyone other than the automated
actions-user account.
To see the rendering of the gh-pages branch by the
automated actions-user, you can click the “Actions” tab from the main
repo page. This tab shows the actions triggered by each commit and if
they are in-progress or completed (sucessfully or with an error). You
can also see the details of actions in more depth by clicking on an
individual commit in this page.
On the repository home page (e.g. by clicking the name of the project near the top left of the window), click the gear wheel icon near the top right, to edit the About box. Check the box that says “Use your GitHub Pages website” to add the address of your lesson site to the About box.
After following these steps, when you navigate to the pages URL, you should see a lesson website with The Carpentries logo and “Lesson Title” in the top-left corner. You may need to wait a few minutes for the website to be generated.
- For trainees unfamiliar with the relationship between a source
repository and rendered website, it is important to show the default
version of the lesson website now i.e. before beginning to edit
config.yaml. - It is also recommended to take time at this point to demonstrate step-by-step how to edit files in the GitHub web interface.
config.yaml
The lesson title can be adjusted by modifying the
config.yaml file in the repository. The
config.yaml file contains several global parameters for a
lesson - to determine some of the page styling, contact details for the
lesson, etc. config.yaml is written in YAML, a structured file format of
key-value pairs in the form key: value. For example, a YAML
file of personal data might include lines such as
name: 'Mei', height_m: 1.84, and
birthdate: 1899-01-12. As well as the title of the lesson,
you can and should adjust some of the other values in
config.yaml, but you should not need to add new values or
learn a lot about YAML to be able to configure your lesson. You should
also only have to add or modify single-line string values and list
entries, and not deal with multi-line strings or other data types
(e.g. numbers, booleans, dictionaries) that YAML supports. The template
config.yaml aims to guide users through examples and
annotations on how to format the values they provide e.g. if you are
modifying a value wrapped in quotation marks in the template file, it is
safest to replace it with another value within quotation marks.
Practice with config.yaml (5
minutes)
Complete the configuration of your lesson by adjusting the following
fields in config.yaml. Remember that FIXME values with
quotes should be replaced with another value still in quotes and FIXMEs
without quotes should be replaced by values without quotes.
-
contact: add an email address people can contact with questions about the lesson/project. -
created: the date the lesson was created (today’s date) in YYYY-MM-DD format. -
keywords: a (short) comma-separated list of keywords for the lesson, which can help people find your lesson when searching for resources online. At a minimum, include ‘lesson’, ‘pre-alpha’, and your lesson’s (human) language. For example, ‘lesson, pre-alpha, español’. -
source: change this to the URL for your lesson repository.
We will revisit the life_cycle and
carpentry fields in config.yaml later in this
training.
.Rproj file
The repository also contains a file called FIXME.Rproj,
a project file that RStudio (a commonly-used editor for working on
lessons) can use to track some options and preferences for working on
your lesson on your local machine. This file should be renamed. You can
call this file whatever you like, but the convention is for its name to
match that of the lesson repository.
README.md
The README.md file is the “front page” of your lesson repository on GitHub, and is written in Markdown. You should use it to provide basic information about the project, for anyone who finds their way to the source files for your lesson.
Improving the README.md (5
minutes)
Take a few minutes to update it with some basic information about the project:
- the lesson title
- a short description of the lesson
- a list of the names of the authors, optionally linked to their GitHub profile
We will revisit README.md later in the training with
more details on what to include in this file.
- Lesson sites are built with GitHub Pages from source repositories located in GitHub.
- A new lesson repository can be created from a template maintained by
The Carpentries, and configured by adjusting the
config.yamlfile.